Nikon D80 User Manual: A Comprehensive Guide
This guide details the Nikon D80’s features‚ from mode dial functions and autofocus settings to flash photography and image quality options‚ ensuring optimal performance.
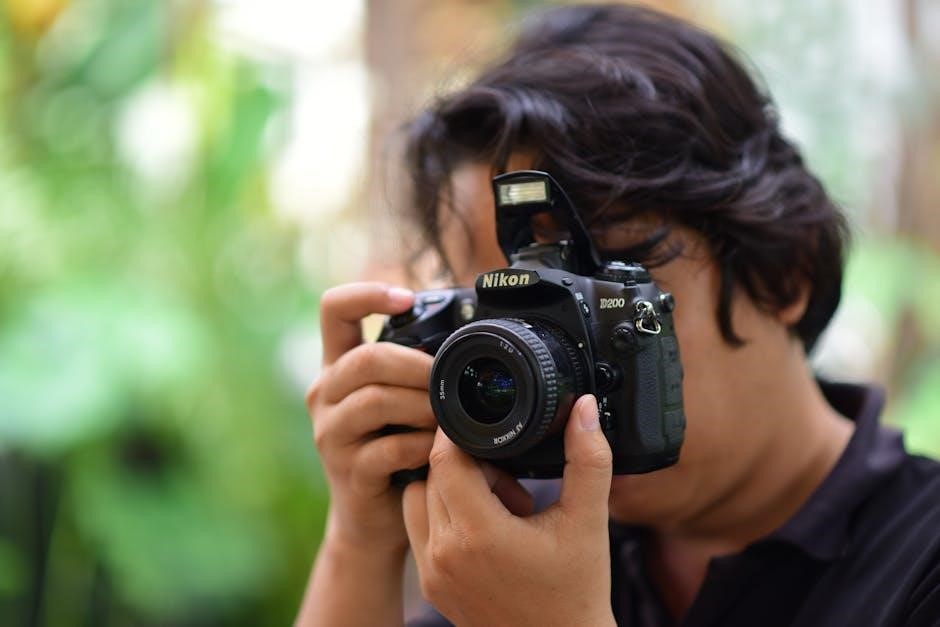
The Nikon D80‚ released in 2006‚ represents a significant step for aspiring photographers seeking a powerful and versatile Digital SLR. This camera bridges the gap between entry-level and professional models‚ offering a robust 10.2-megapixel DX Format sensor and advanced features previously found in higher-end Nikon bodies.
Understanding the D80 requires familiarization with its controls‚ including the mode dial which allows switching between various shooting modes – Auto‚ Program‚ Shutter Priority‚ Aperture Priority‚ and Manual. The focal plane indicator‚ though subtle‚ aids specialized close-up work. This manual aims to demystify these elements and unlock the D80’s full potential‚ guiding you through menu navigation‚ autofocus intricacies‚ and achieving optimal image quality with both NEF and JPEG formats.
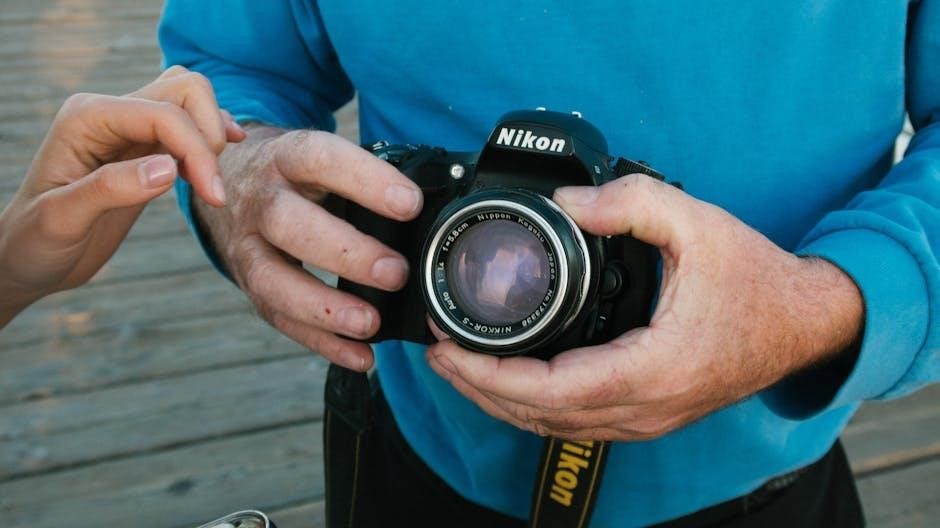
Understanding the Camera Body
The Nikon D80’s body is designed for comfortable and intuitive operation. The knurled wheel‚ known as the mode dial‚ is central to selecting shooting modes‚ ranging from fully automatic operation to complete manual control. A key‚ often overlooked feature‚ is the focal plane indicator; it assists with precise focusing in specialized close-up photography by revealing the sensor’s plane.
Beyond these‚ the body houses essential controls for adjusting settings‚ reviewing images‚ and navigating menus. Familiarizing yourself with the placement of buttons and dials is crucial for efficient shooting. Understanding the physical layout enhances responsiveness and allows for quick adjustments in dynamic shooting situations‚ ultimately improving your photographic workflow.
Mode Dial and its Functions
The Nikon D80’s mode dial is your primary control for selecting the camera’s operating mode. Turning this knurled wheel allows you to switch between various options‚ including Digital Vari-Program (DVP) and Scene modes for simplified shooting. It also provides access to more advanced modes like Auto‚ Program (P)‚ Shutter Priority (S)‚ Aperture Priority (A)‚ and Manual (M).
Each mode offers a different level of control over camera settings. Auto mode handles everything for you‚ while Manual mode grants complete creative freedom. Understanding the function of each mode is essential for tailoring the camera to your specific photographic needs and achieving desired results. Experimentation is key to mastering the mode dial’s capabilities.
Focal Plane Indicator Explained
The Nikon D80 features a focal plane indicator‚ a subtle but important marking on the camera body. This indicator denotes the precise plane of the camera’s sensor‚ crucial for specialized close-up photography techniques like focus stacking. While often difficult to locate visually‚ understanding its purpose is key for achieving accurate focus in these scenarios.
It’s important to note that the indicator doesn’t reveal the sensor’s location itself‚ but rather defines the plane where optimal sharpness will be achieved. For most general photography‚ this indicator isn’t actively used. However‚ for macro or technical work demanding extreme precision‚ referencing the focal plane indicator ensures critical focus is attained.

Setting Up Your Nikon D80
Initial setup of your Nikon D80 involves familiarizing yourself with its menu system and customizing settings to suit your shooting style. Begin by setting the correct date‚ time‚ and copyright information within the camera’s menu. This ensures accurate metadata is embedded in your images.
Navigating the menu is intuitive‚ utilizing the directional pad and ‘OK’ button. Explore options for image quality‚ autofocus‚ and metering to personalize the camera’s behavior. Consider setting up custom picture controls to achieve desired color and contrast profiles. Regularly reviewing and adjusting these settings will optimize your photographic workflow and enhance image results.
Menu Navigation and Customization
The Nikon D80’s menu system is accessed via the ‘Menu’ button‚ navigated using the multi-selector and ‘OK’ button for selection. It’s organized into several tabs: Shooting‚ Recording‚ Playback‚ Setup‚ and Custom Settings. Customization is key to efficient operation. Explore the Custom Settings menu to personalize button assignments and camera responses.
Within the Setup menu‚ you can adjust display settings‚ file naming conventions‚ and language preferences. The Shooting and Recording menus allow fine-tuning of image quality‚ autofocus modes‚ and metering options. Regularly reviewing these settings ensures the camera aligns with your photographic needs‚ maximizing creative control and streamlining your workflow.

Date‚ Time‚ and Copyright Information Settings
Accurate date and time settings are crucial for proper file organization and chronological sorting of your images. These are adjusted within the Setup menu‚ accessible via the camera’s main menu system. Setting the correct date and time ensures your photos are timestamped accurately‚ aiding in post-processing and archiving.
The Nikon D80 also allows you to embed copyright information directly into the image metadata. This protects your work and clearly identifies ownership. Within the Setup menu‚ you can input your name and copyright details‚ which will be automatically added to each captured image. This feature is invaluable for professional photographers or anyone wanting to safeguard their intellectual property.
Shooting Modes Explained
The Nikon D80 offers a versatile range of shooting modes to suit various photographic situations and skill levels. From fully automatic options for beginners to manual control for experienced users‚ the mode dial provides access to diverse creative possibilities. Understanding each mode is key to maximizing the camera’s potential.
The dial includes Auto mode for effortless shooting‚ Program (P) mode for balanced control‚ Shutter Priority (S) for managing motion‚ Aperture Priority (A) for depth of field‚ and Manual (M) mode for complete creative authority. Each mode allows different levels of customization‚ enabling photographers to tailor settings to their specific needs and artistic vision.
Auto Mode for Beginners
Nikon D80’s Auto mode simplifies photography for newcomers‚ automatically selecting optimal settings for various scenes. The camera analyzes the lighting conditions and subject matter‚ adjusting aperture‚ shutter speed‚ and ISO for proper exposure. This mode is ideal for everyday snapshots and situations where quick‚ hassle-free shooting is desired.
While offering convenience‚ Auto mode limits creative control; Photographers relinquish direct influence over settings‚ relying on the camera’s internal algorithms. However‚ it serves as an excellent starting point for learning basic composition and framing techniques before exploring more advanced modes. It’s a fantastic way to quickly capture moments without needing extensive technical knowledge.
Program (P) Mode: Versatile Control
Program (P) mode on the Nikon D80 offers a balance between automatic operation and manual control. The camera sets both aperture and shutter speed‚ but allows users to adjust other settings like ISO‚ white balance‚ and exposure compensation. This provides greater flexibility than Auto mode‚ enabling photographers to fine-tune images without directly managing aperture and shutter speed.
P mode is particularly useful in varying lighting conditions where a quick adjustment to exposure compensation can significantly improve results. It’s a versatile option for general photography‚ offering a stepping stone towards full manual control. Users can also access Programmed Auto with Flexible Program‚ allowing shifts in aperture and shutter speed combinations.
Shutter Priority (S) Mode: Controlling Motion
Shutter Priority (S) mode on the Nikon D80 empowers photographers to dictate the shutter speed‚ directly influencing motion blur or freezing action. The camera automatically selects the appropriate aperture to achieve correct exposure based on the chosen shutter speed and ISO setting. This mode is ideal for sports photography‚ capturing fast-moving subjects‚ or intentionally creating motion blur for artistic effect.
Faster shutter speeds freeze action‚ while slower speeds blur movement. Understanding this relationship is key to mastering S mode. Remember to consider the impact of aperture on depth of field when using this mode‚ as the camera selects it automatically. Experimentation is crucial to achieve desired results.
Aperture Priority (A) Mode: Depth of Field Control
Aperture Priority (A) mode on the Nikon D80 allows photographers to control the aperture‚ directly influencing the depth of field – the area of acceptable sharpness in an image. The camera automatically selects the shutter speed to achieve proper exposure‚ based on the chosen aperture and ISO. Wider apertures (lower f-numbers like f/1.8) create shallow depth of field‚ ideal for isolating subjects with blurred backgrounds.
Narrower apertures (higher f-numbers like f/16) yield greater depth of field‚ keeping more of the scene in focus; This mode is excellent for landscapes or group portraits. Be mindful of the shutter speed selected by the camera‚ ensuring it’s fast enough to avoid motion blur.
Manual (M) Mode: Full Creative Control
Manual (M) mode on the Nikon D80 grants the photographer complete control over both aperture and shutter speed‚ offering ultimate creative flexibility. This mode requires a thorough understanding of the exposure triangle – the relationship between aperture‚ shutter speed‚ and ISO. It’s ideal for challenging lighting situations where automatic modes may struggle‚ or when a specific creative effect is desired.
Using the light meter as a guide‚ adjust these settings independently to achieve the desired exposure. Remember to check the histogram to ensure proper tonal balance. Mastering Manual mode unlocks the full potential of the D80‚ allowing for precise image creation.
Focusing and Autofocus Settings
The Nikon D80 offers a range of autofocus (AF) modes and area modes to suit various shooting scenarios. AF-S (Single Servo) is best for stationary subjects‚ while AF-C (Continuous Servo) tracks moving subjects. Area modes include Single-point AF for precise targeting‚ Dynamic-area AF for tracking within a defined area‚ and Auto-area AF for automatic subject detection.
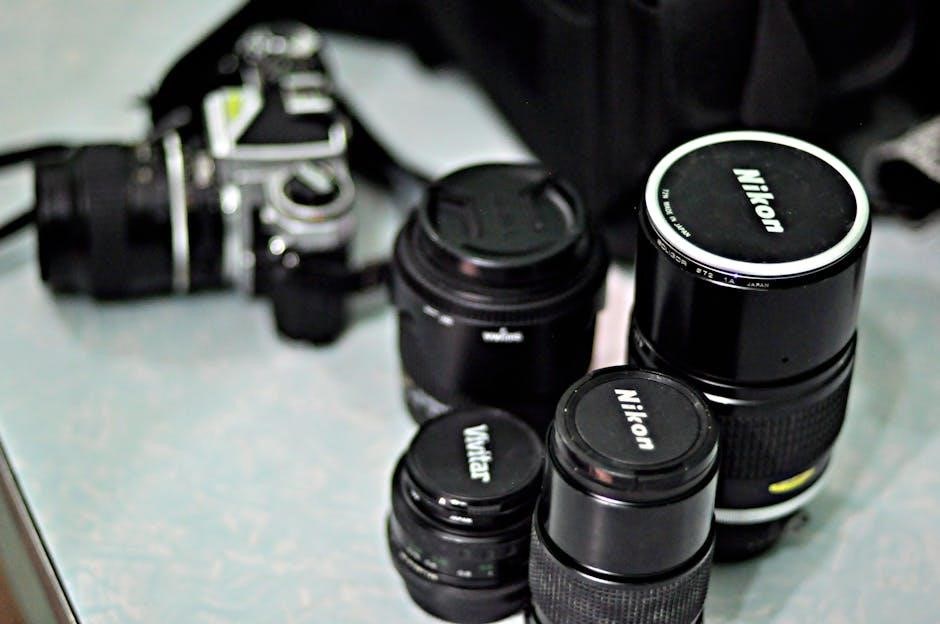
For optimal results with specific lenses‚ like a 50mm‚ consider focus fine-tuning. Some lenses exhibit focus shift at wider apertures (e.g.‚ f/1.4)‚ requiring adjustment. Fine-tuning compensates for this‚ ensuring sharpness at the desired aperture. Accurate focusing is crucial for capturing detailed‚ impactful images with your D80.
Autofocus Modes and Area Modes
The Nikon D80 provides several autofocus (AF) modes tailored to different shooting situations. Single-servo AF (AF-S) locks focus on a stationary subject when the shutter button is half-pressed. Continuous-servo AF (AF-C) continuously adjusts focus‚ ideal for tracking moving subjects. Auto-servo AF (AF-A) automatically switches between AF-S and AF-C.
Area modes determine how the camera selects the focus point. Single-point AF uses a single focus point you choose. Dynamic-area AF uses the selected point‚ but also considers surrounding points for tracking. Auto-area AF lets the camera automatically select focus points across the frame. Experiment to find the best combination for your needs.
Focus Fine-Tuning (with 50mm lenses example)
Sometimes‚ lenses‚ particularly 50mm f/1.4 variants‚ exhibit focus shift – where focus accuracy changes with aperture. The Nikon D80 allows for AF fine-tuning to correct this. Access the setup menu and locate the AF fine-tune option. Use a high-contrast target and carefully observe focus accuracy at different apertures.
For example‚ a 50mm f/1.4 lens might focus accurately at f/2.8 but front-focus wide open. Fine-tuning adjusts the AF system to compensate. If back-focusing occurs at a specific aperture‚ increase the fine-tune value; if front-focusing‚ decrease it. Repeat until optimal sharpness is achieved‚ ensuring precise results;
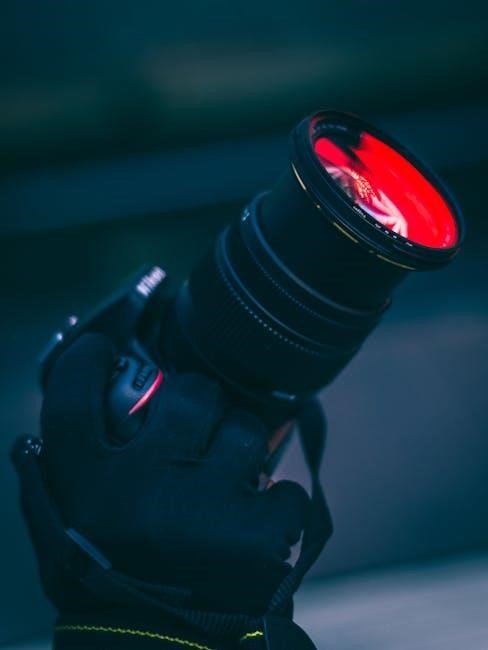
Flash Photography with the Nikon D80
The Nikon D80 offers both built-in flash and compatibility with external Speedlights like the SB-400‚ expanding your lighting options. The built-in flash is convenient for basic illumination‚ but external flashes provide greater control and power. When using an external flash‚ ensure it’s securely mounted and set to the desired mode.
For simple point-and-shoot flash photography‚ set the camera to Program mode and the meter to Spot setting. This allows the camera to calculate the appropriate flash exposure. Experiment with different flash modes – TTL‚ manual‚ and auto – to achieve the desired effect. Remember to consider bounce flash techniques for softer‚ more natural lighting.
Using the Built-in Flash
The Nikon D80’s integrated flash is a versatile tool for adding light to your photos‚ particularly in low-light situations. Accessed via a pop-up mechanism on the camera’s hot shoe‚ it offers several modes. Auto mode lets the camera determine flash output‚ while Auto with Red-Eye Reduction minimizes red-eye effects. You can also manually control the flash output for creative control.
To activate the built-in flash‚ press the flash release button. Be mindful of potential harsh shadows and red-eye. Diffusers can soften the light; Remember that the built-in flash has limited power‚ so it’s best suited for close-range subjects. Explore the flash settings in the camera menu for further customization.
Compatibility with External Speedlights (e.g.‚ SB-400)
The Nikon D80 seamlessly integrates with Nikon’s range of Speedlights‚ like the SB-400‚ offering significantly more power and control than the built-in flash. Attaching a Speedlight to the hot shoe unlocks advanced features like TTL (Through-The-Lens) flash metering‚ allowing the camera to automatically adjust flash output for proper exposure.
Using Program mode with spot metering‚ as suggested for the SB-400‚ provides a straightforward point-and-shoot experience. Explore the camera’s flash menu to access various settings‚ including flash modes (manual‚ auto‚ TTL)‚ high-speed sync‚ and remote flash control. External Speedlights enhance your creative possibilities‚ enabling sophisticated lighting techniques.
Image Quality and File Formats
The Nikon D80 offers a choice between NEF (RAW) and JPEG file formats‚ each catering to different needs. NEF files retain all image data captured by the sensor‚ providing maximum flexibility for post-processing adjustments like white balance‚ exposure‚ and color correction. JPEGs‚ on the other hand‚ are compressed files ready for immediate use‚ but with limited editing potential.
Software options for opening NEF files abound. Both Adobe products‚ like Photoshop and Lightroom‚ and Nikon’s own software‚ such as Nikon Capture NX-D‚ are capable of handling these files. Choosing the right format depends on your workflow; RAW for serious editing‚ JPEG for convenience.
NEF (RAW) vs. JPEG: Choosing the Right Format
Deciding between NEF (RAW) and JPEG impacts your post-processing flexibility. NEF files‚ containing unprocessed data from the sensor‚ offer extensive editing control over white balance‚ exposure‚ and color. This is ideal for photographers seeking maximum quality and creative freedom. However‚ NEF files are larger and require dedicated software for opening and editing.
JPEG files‚ conversely‚ are compressed and ready for immediate use‚ sacrificing some image data for convenience and smaller file sizes. While simpler to share and view‚ JPEGs offer limited editing latitude. Consider your workflow: choose NEF for detailed editing‚ and JPEG for quick results and easy sharing.
Software for Opening NEF Files (Adobe‚ Nikon)
Opening NEF files requires specialized software capable of interpreting the RAW data format. Adobe Photoshop‚ with its Camera Raw plugin‚ is a popular choice‚ offering comprehensive editing tools and compatibility across numerous Nikon camera models‚ including the D80. Nikon also provides its own software solutions‚ such as Nikon Capture NX-D and Nikon Photo Lab.
These Nikon-specific programs are optimized for Nikon RAW files‚ potentially delivering superior color rendition and detail. Several other third-party options exist‚ but Adobe and Nikon software generally provide the most robust and reliable support for the D80’s NEF files‚ ensuring optimal image processing.
Camera Maintenance and Care
Regular maintenance is crucial for preserving your Nikon D80’s performance and longevity. Cleaning the sensor and lens should be done carefully to avoid damage; use a blower to remove dust‚ and specialized cleaning solutions for stubborn marks. Addressing cosmetic issues like paint rubs is also important‚ especially if considering resale.
For minor paint imperfections‚ careful touch-up techniques can minimize their visibility. Avoid abrasive cleaners or harsh chemicals. Proper storage in a dry‚ dust-free environment will further protect your investment. Consistent care ensures your D80 remains a reliable companion for years to come.
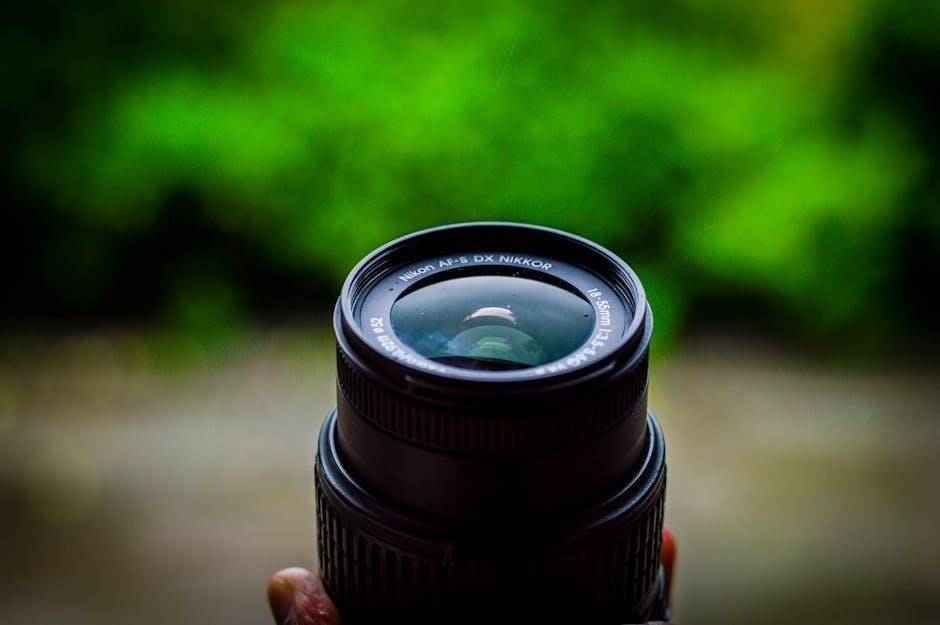
Cleaning the Sensor and Lens
Maintaining a clean sensor and lens is vital for optimal image quality with your Nikon D80. Begin by using a blower to gently remove loose dust particles from both the sensor and lens surface. Avoid touching either with your fingers. For persistent dust or smudges on the lens‚ employ a microfiber cloth and lens cleaning solution‚ applying gentle circular motions.
Sensor cleaning requires extra caution; consider professional cleaning if you’re uncomfortable. Never use compressed air cans‚ as they can damage the sensor. Regular cleaning prevents dust spots and ensures sharp‚ clear photographs. Prioritize preventative measures like lens caps and careful handling.
Repairing Paint Rubs and Scratches
Cosmetic damage like paint rubs‚ often caused by strap attachments‚ can affect a Nikon D80’s appearance but not its functionality. For minor rubs exposing the metal‚ touch-up paint specifically designed for cameras is recommended. Carefully apply the paint using a fine brush‚ matching the original color as closely as possible. Multiple thin coats are preferable to one thick application.
Deeper scratches may require professional repair to avoid further damage. Consider the camera’s overall value before investing in extensive cosmetic fixes. If selling‚ disclose the damage honestly; it’s better than concealing it. A well-maintained camera‚ even with minor cosmetic flaws‚ retains significant value.