Canon 5D Mark III: A Comprehensive User Guide
Welcome! This guide unlocks the full potential of your Canon 5D Mark III, offering detailed instructions for both beginners and experienced photographers.
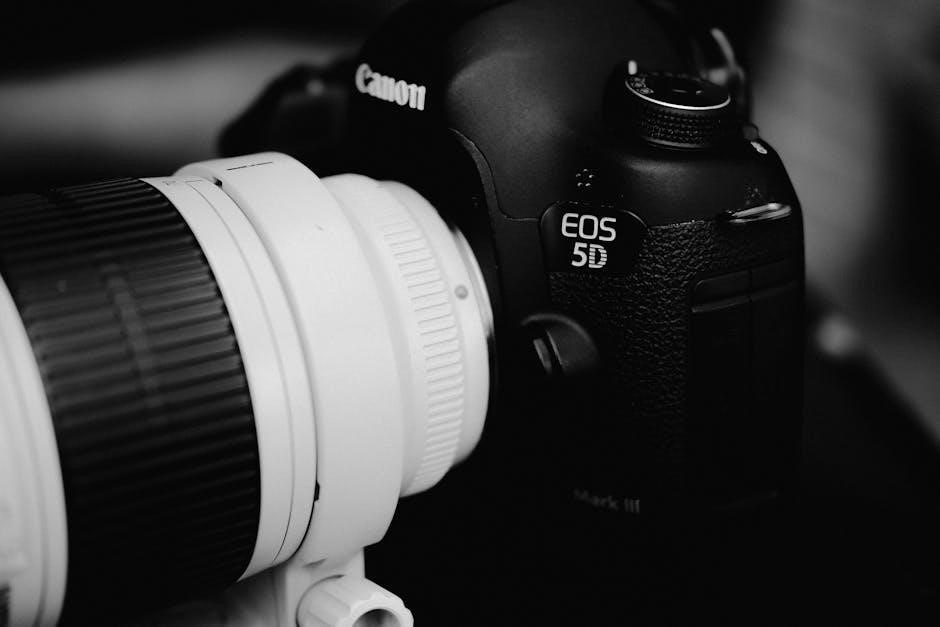
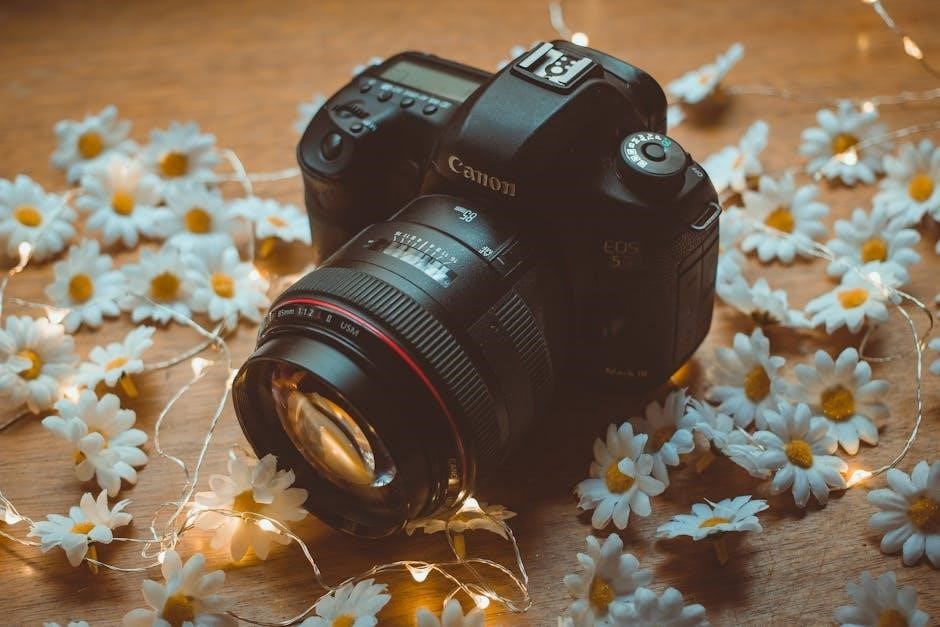
The Canon 5D Mark III is a professional-grade full-frame DSLR renowned for its exceptional image quality, robust build, and versatile features. This camera bridges the gap between enthusiast and professional workflows.
It’s a workhorse capable of handling diverse photographic genres, from landscapes and portraits to weddings and photojournalism. This guide will comprehensively explore its capabilities, ensuring you maximize its potential;
Key Features and Specifications
The 5D Mark III boasts a 22.3MP full-frame CMOS sensor, DIGIC X image processor, and a 61-point High-Density Reticular AF system. It captures stunning 1080p HD video at 30fps.
Its ISO range extends to 25600 (expandable to 102400), offering excellent low-light performance. It features dual card slots and a durable magnesium alloy body for reliability.
Sensor and Image Processor
At the heart of the 5D Mark III lies a 22.3-megapixel full-frame CMOS sensor, delivering exceptional image quality and detail. Paired with the powerful DIGIC X image processor, it ensures fast processing speeds and reduced noise.
This combination enables a wide dynamic range and accurate color reproduction, even in challenging lighting conditions, resulting in professional-grade photographs.
Autofocus System
The Canon 5D Mark III boasts a sophisticated 61-point High-Density Reticular Autofocus system. This system offers incredibly precise and fast focusing, tracking subjects effectively across the frame.
It includes 41 cross-type AF points, enhancing accuracy, particularly with fast-moving subjects. Customizable AF settings allow tailoring the system to specific shooting scenarios.
Video Recording Capabilities
The 5D Mark III excels in video, recording Full HD 1080p video at selectable frame rates – 24, 25, and 30 fps. Manual video control provides complete creative freedom over exposure, audio levels, and focus.
Clean HDMI output enables external recording, while the internal recording utilizes the MOV format with IPB or ALL-I compression options.
Getting Started: Initial Setup
Before your first shoot, insert a compatible memory card and a fully charged battery. Power on the camera and follow the on-screen prompts to set the date, time, and language.
Register your camera for warranty benefits and explore the included software for image transfer and basic editing capabilities.
Battery and Charging
The Canon 5D Mark III utilizes the LP-E6 battery. Use the supplied LC-E6 charger to fully charge a depleted battery – typically taking around 2-3 hours.
Avoid using third-party chargers as they may damage the battery or camera. A fully charged battery provides approximately 950 shots.
Memory Card Selection and Insertion
The 5D Mark III supports CompactFlash (CF) and SD cards (SDHC/SDXC). For optimal performance, especially with video, a fast CF card (UDMA) is recommended.
To insert, gently push the card into the slot until it clicks. To eject, press the release lever. Never force the card or use excessive force!
Initial Camera Settings (Date, Time, Language)
Upon powering on, the camera prompts you to set the date, time, and preferred language. Accurate date/time stamping is crucial for organizing photos; Navigate using the directional buttons and press ‘SET’ to confirm each selection.
Incorrect settings can be easily changed later within the camera’s menu system.
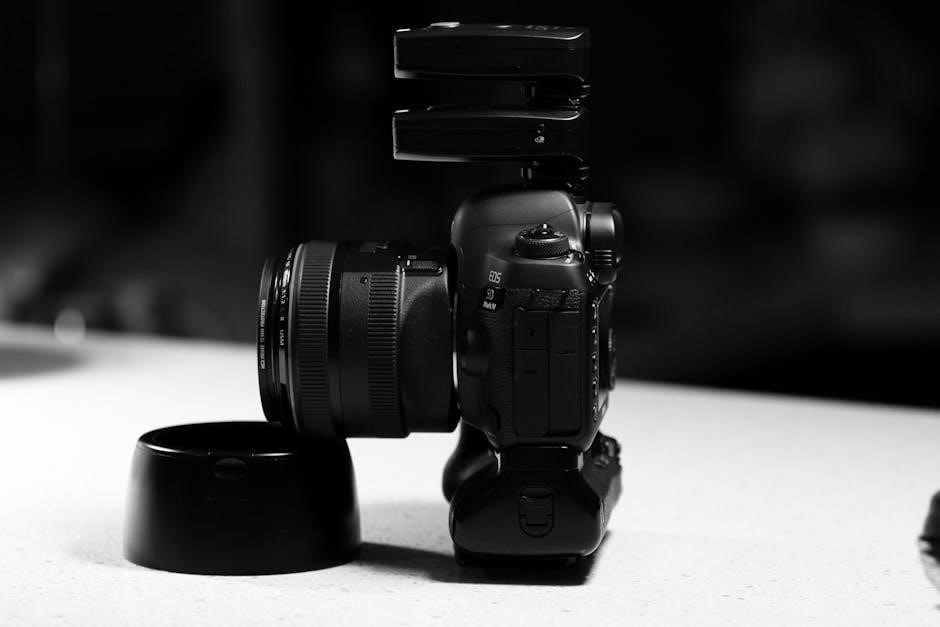
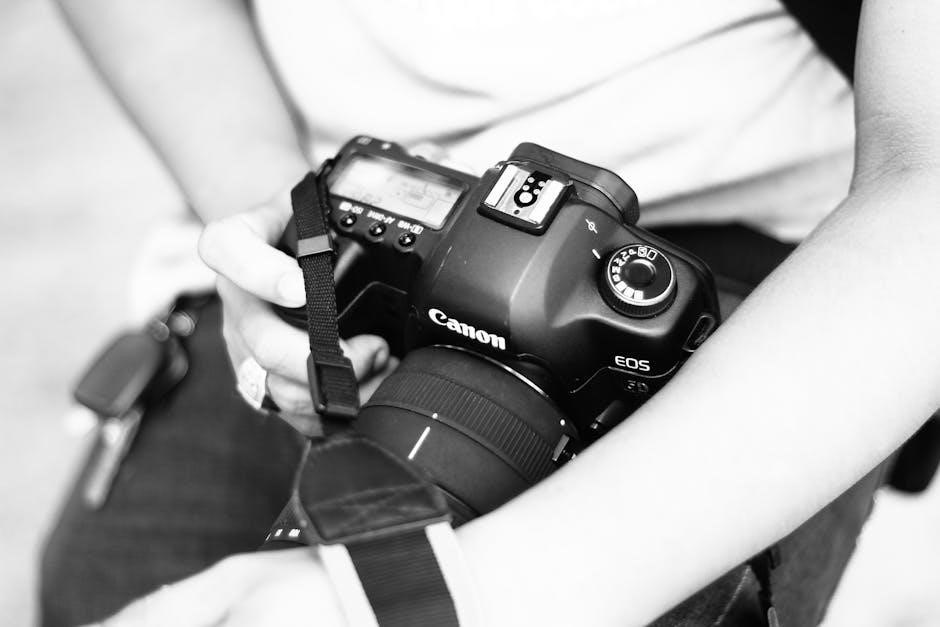
Understanding the Camera Body & Controls
Familiarizing yourself with the 5D Mark III’s layout is key to efficient operation. The body features a robust build and intuitive control placement. We’ll dissect the top, rear, and side panels, identifying essential buttons, dials, and ports.
Mastering these elements unlocks creative control.
Top Panel Controls
The top panel houses critical controls. The main dial adjusts settings like shutter speed or aperture, depending on the shooting mode. Nearby, the power switch activates the camera, and the shutter button initiates capture.
The mode dial selects shooting modes, and the quick control dial offers fast access to key parameters.
Rear Panel Controls
The rear panel is dominated by the 3.2-inch LCD screen for image review and menu navigation. Surrounding it are buttons for playback, menu access, and Live View shooting.
A multi-controller enables precise AF point selection, while the SET button confirms choices. The directional buttons provide further menu control and customization options.
Side Panel Ports (Microphone, Headphones, Remote)
Located on the left side, you’ll find essential ports for enhanced audio and remote control. A 3.5mm microphone jack allows for external audio recording, improving video sound quality;
Adjacent is a headphone jack for real-time audio monitoring. Finally, a remote control port enables wireless shutter release and camera operation.
Shooting Modes: Still Photography
The Canon 5D Mark III offers a versatile range of shooting modes to suit various photographic scenarios. These modes grant differing levels of control over aperture, shutter speed, and ISO.
Explore Program AE, Aperture Priority, Shutter Priority, and full Manual modes to master your creative vision and capture stunning still images with precision and ease.
Program AE (P) Mode
Program AE (P) mode provides a balance between convenience and control. The camera automatically selects an appropriate aperture and shutter speed combination for optimal exposure, based on the lighting conditions.
Photographers retain control over ISO, white balance, and other settings, making it ideal for quick shooting while maintaining creative flexibility.
Aperture Priority (Av) Mode
Aperture Priority (Av) mode allows you to select the desired aperture (f-stop), controlling depth of field. The camera then automatically sets the shutter speed for proper exposure.
This is excellent for portraits (shallow depth of field) or landscapes (large depth of field), giving you creative control over the image’s look and feel.
Shutter Priority (Tv) Mode
Shutter Priority (Tv) mode lets you choose the shutter speed, freezing motion or creating motion blur. The camera automatically adjusts the aperture for correct exposure.
Ideal for sports (fast shutter speed) or light trails (slow shutter speed), offering control over how movement is captured within your photographs.
Manual (M) Mode
Manual (M) mode grants complete creative control, allowing you to independently set both aperture and shutter speed. This mode requires understanding the exposure triangle – aperture, shutter speed, and ISO.
Perfect for challenging lighting situations or when a specific look is desired, offering ultimate flexibility for artistic expression and precise control.
Autofocus Modes & Settings
The Canon 5D Mark III boasts a sophisticated autofocus system. Explore One-Shot AF for static subjects, and AI Servo AF for tracking moving targets. Customize AF point selection for precise focus control.
Understanding these settings is crucial for capturing sharp, well-focused images in various shooting scenarios, maximizing image quality and minimizing blur.
One-Shot AF
One-Shot AF is ideal for photographing stationary subjects. When you half-press the shutter button, the camera locks focus on the selected AF point. It remains locked until you fully press the shutter or release and re-press.
This mode ensures sharp focus on still objects, preventing refocusing during image capture.
AI Servo AF
AI Servo AF (Automatic Intelligent Servo) is designed for tracking moving subjects. The camera continuously adjusts focus as the subject’s distance changes. Half-pressing the shutter activates continuous tracking, maintaining focus while the subject moves.
Perfect for sports, wildlife, or any dynamic scene requiring consistent focus.
AF Point Selection Modes
The 5D Mark III offers several AF point selection modes. Automatic selection lets the camera choose, Zone AF uses a group of points, Large Zone AF expands the zone, and Single-point AF isolates one point.
AF point expansion assists with tracking, while Manual selection provides complete control.
Metering Modes & Exposure Control
Understanding metering is crucial for correct exposure. The 5D Mark III features Evaluative, Partial, and Spot metering. Evaluative analyzes the entire scene, Partial measures a 6.5% area, and Spot focuses on a 2.8% area.
Utilize exposure compensation to fine-tune brightness, ensuring properly exposed images in challenging lighting.
Evaluative Metering
Canon’s Evaluative metering is the default and most versatile mode. It analyzes the entire scene, considering brightness and contrast across 15 partially measuring zones. This mode excels in typical shooting situations, providing balanced exposures.
It’s particularly effective for general photography, portraits, and landscapes.
Partial Metering
Partial metering measures light from approximately 6.5% of the frame area, centered around the active focus point. This mode is useful when your subject is strongly backlit or has significant contrast. It requires more careful consideration of the scene’s lighting.
It’s best for precise exposure control.
Spot Metering
Spot metering is the most precise, measuring light from approximately 2.8% of the frame area, directly around the active focus point. Ideal for challenging lighting situations, it allows you to expose specifically for your subject, ignoring surrounding brightness.
Mastering this mode yields exceptional results.
Exposure Compensation
Exposure compensation overrides the camera’s automatic exposure settings, allowing you to brighten or darken images. Use the +/- button on the top panel to adjust in 1/3 or 1/2 stop increments. This is crucial when shooting scenes with strong backlighting or predominantly light/dark tones.
Video Recording: Settings and Techniques
The 5D Mark III excels in video, offering full HD recording. Access video mode via the main dial. Prioritize manual control for consistent results; adjust aperture, shutter speed, and ISO. Utilize the zebra stripes for exposure guidance and consider external microphones for superior audio quality.

Video Resolution and Frame Rates
The Canon 5D Mark III records in various resolutions and frame rates. Options include 1080p Full HD at 24, 25, or 30 frames per second, and 720p HD. Choosing the correct frame rate depends on your desired aesthetic and editing workflow; 24fps mimics a cinematic look.
Audio Recording Options
The 5D Mark III offers manual and automatic audio level control. A 3.5mm microphone input allows for external microphones, significantly improving sound quality over the built-in microphone. Monitor audio through headphones using the provided jack for accurate level adjustments during recording.
Manual Video Control
Achieve cinematic results by utilizing full manual control over aperture, shutter speed, and ISO during video recording. This allows precise exposure adjustments for creative effects. Monitor exposure using the built-in zebras and focus peaking features. Remember to set white balance manually for consistent color.
Customizing Your 5D Mark III
Personalize your camera to match your shooting style! Explore Custom Functions for tailored button assignments and menu behavior. Adjust Picture Style settings to achieve desired image looks straight from the camera. Efficient button customization streamlines workflow, enhancing speed and responsiveness in critical moments.
Custom Function Settings
Dive into the extensive Custom Functions menu to truly make the 5D Mark III your own. Reassign buttons, tweak dial behavior, and modify menu display options. These settings allow for personalized control, optimizing the camera for your specific photographic needs and shooting preferences.
Picture Style Settings
Picture Styles define the look of your JPEGs, influencing contrast, sharpness, and color tone. Choose from Standard, Portrait, Landscape, Neutral, Faithful, and Monochrome. Further customize each style, or create and save your own unique presets for consistent results across various shooting scenarios.
Button Customization
Tailor your 5D Mark III to your shooting style! Canon allows reassigning functions to various buttons, like the AF-ON button or the depth-of-field preview button. Access this through the Custom Functions menu (CFn). This personalization streamlines your workflow, granting quicker access to frequently used settings.
Menu Navigation and Settings Overview
The 5D Mark III’s menu is logically organized into tabs: Shooting, AF, Exposure, Picture Quality, and more. Utilize the Quick Control Screen for fast access to key settings. Explore Custom Functions (CFn) for deeper personalization. Remember to save custom presets for different shooting scenarios, enhancing efficiency.
Troubleshooting Common Issues
Encountering problems? Check battery levels and card functionality first. If autofocus fails, verify AF settings and lens compatibility. For image quality concerns, review picture style and exposure settings. A full reset to factory defaults can resolve complex software glitches. Consult Canon’s support website for further assistance.
Maintaining Your Canon 5D Mark III
Protect your investment! Regularly clean the sensor with a blower and appropriate cleaning tools. Store the camera in a dry, dust-free environment. Gently wipe the body with a soft, lint-free cloth. Avoid extreme temperatures and humidity. Inspect cables and ports for damage routinely.
Advanced Features: High ISO Performance & Dynamic Range
Maximize image quality! The 5D Mark III excels in low light, offering usable images at high ISO settings. Utilize the broad dynamic range for capturing detail in both highlights and shadows. Experiment with Picture Styles to fine-tune tonal rendition and noise reduction.
Using Live View and the LCD Screen
Explore versatile shooting! Live View provides a real-time preview of your image, ideal for precise composition and manual focusing. The LCD screen offers playback, menu navigation, and detailed image review. Utilize features like histogram display and focus peaking for optimal results.
Firmware Updates and Support
Keep your camera current! Regularly check the Canon website for firmware updates to enhance performance and add new features. Canon’s support resources, including manuals, FAQs, and downloadable software, are readily available online. Contact Canon’s customer service for personalized assistance if needed.
Accessories and Recommended Gear
Expand your capabilities! Consider a spare battery, high-quality lenses, and a robust tripod for optimal results. External flashes, speedlights, and memory card readers are also valuable additions. A comfortable camera strap and protective LCD screen cover complete a solid gear setup.